

Posted by Jonathan Atan
on October 28, 2025
When your knees ache, the real problem is often the muscles around the joint—not the knee itself. Releasing built-up tension in your quads, hamstrings, and calves is the secret. Doing so can dramatically reduce the strain that leads to nagging pain and stiffness.
This guide provides actionable steps for using foam rolling for knee pain. By focusing on the right muscles, you can support your body's recovery and get back to moving comfortably.
Why Foam Rolling Helps Soothe Sore Knees
If you're dealing with cranky knees, the problem usually starts in the muscles connected to them. Your leg muscles are the support crew for your knee joint.
When key players like your quadriceps (front of your thigh) or hamstrings (back of your thigh) get tight from workouts or sitting all day, they start pulling on your kneecap and tendons. This constant tug-of-war can lead to irritation and that familiar ache.
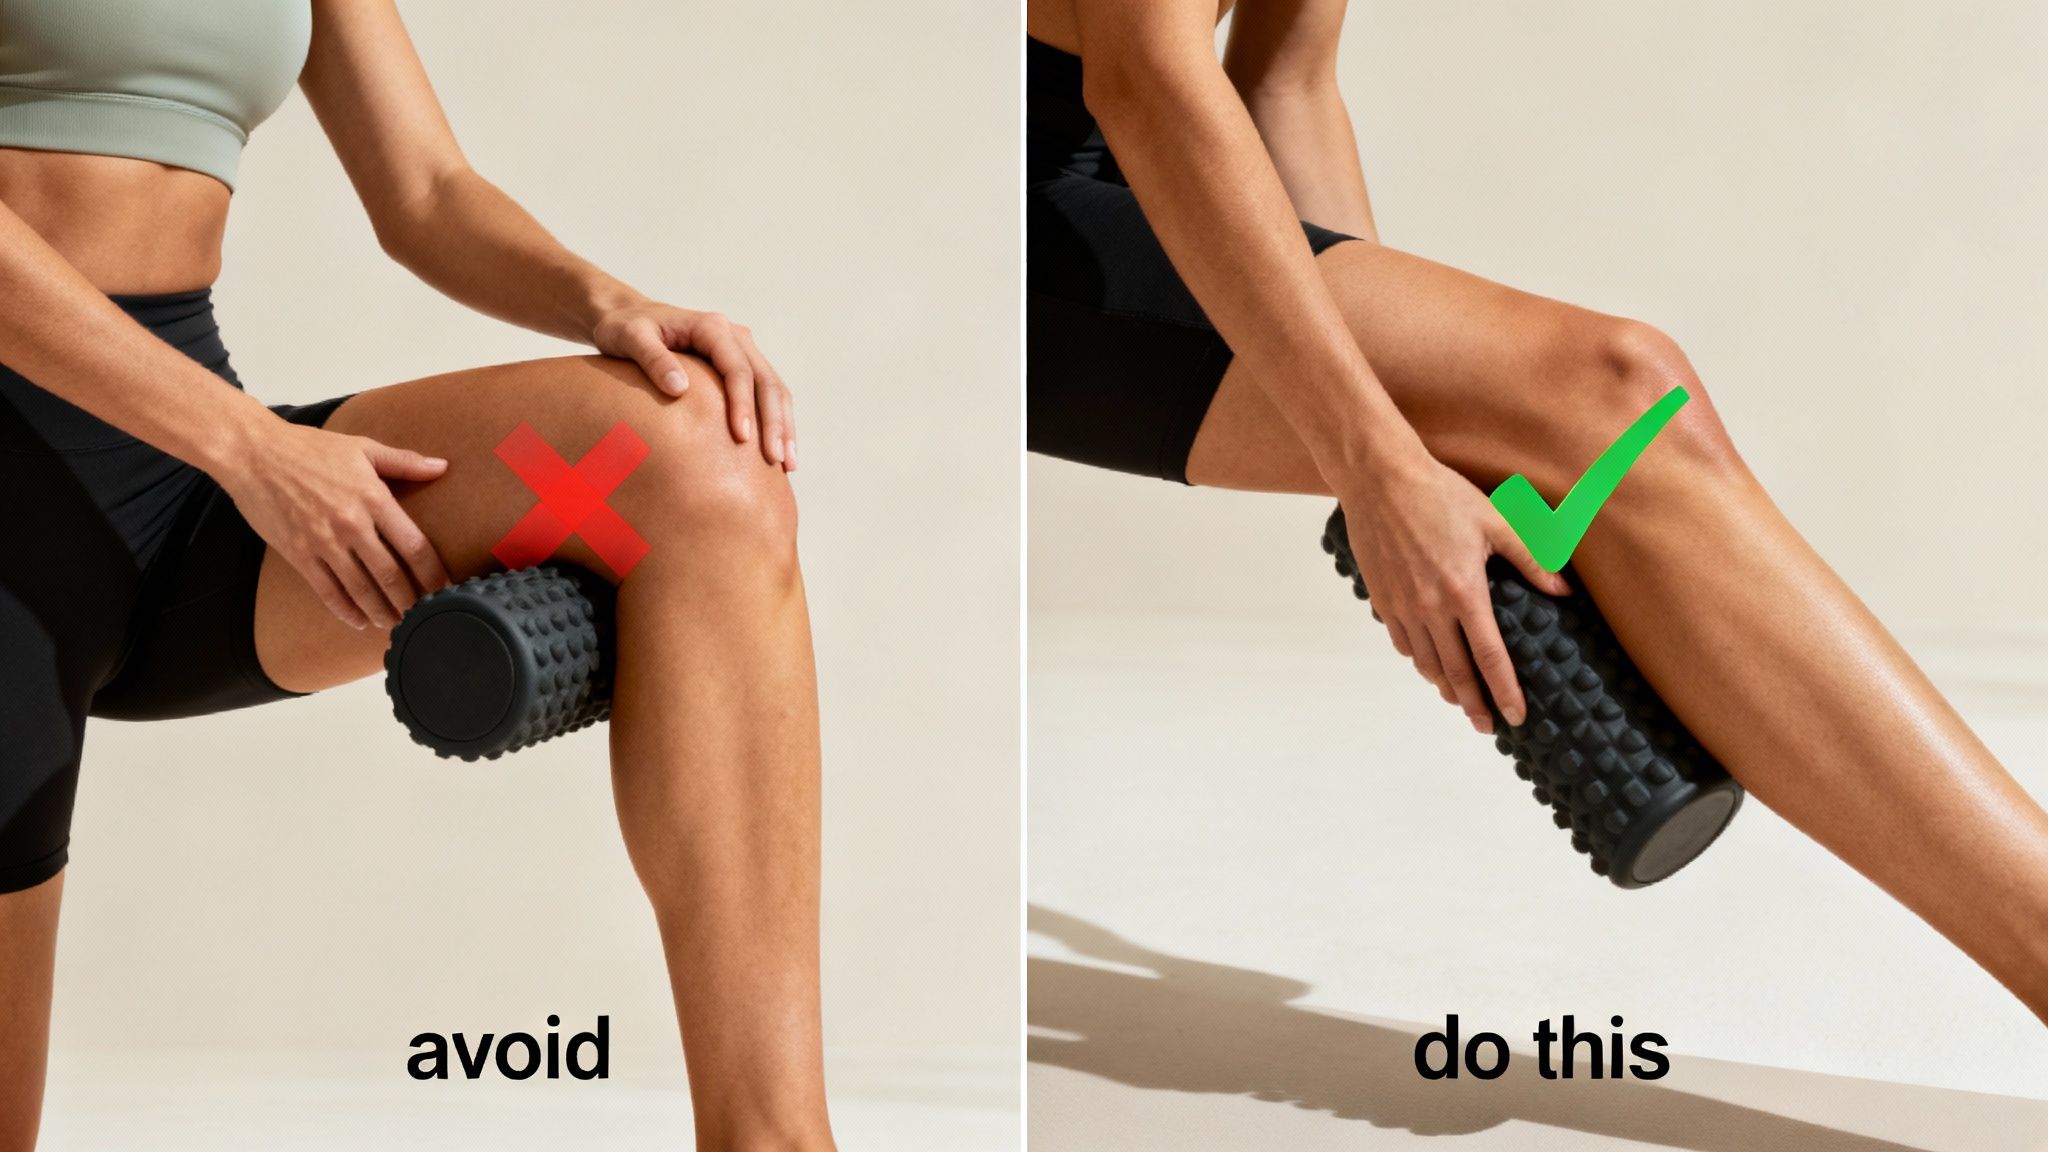
This is exactly where foam rolling comes in. It’s a form of self-myofascial release, which is a practical way of saying you're giving yourself a targeted massage. By applying slow, steady pressure with a foam roller, you can:
- Release Muscle Knots: It helps smooth out painful trigger points, or "knots," that make your muscles feel tight.
- Support Blood Flow: The compression and release action promotes circulation, bringing fresh oxygen and nutrients to the area to support recovery.
- Promote Flexibility: Loosening up tight muscles gives your knee a better range of motion, making things like squatting or walking feel smoother.
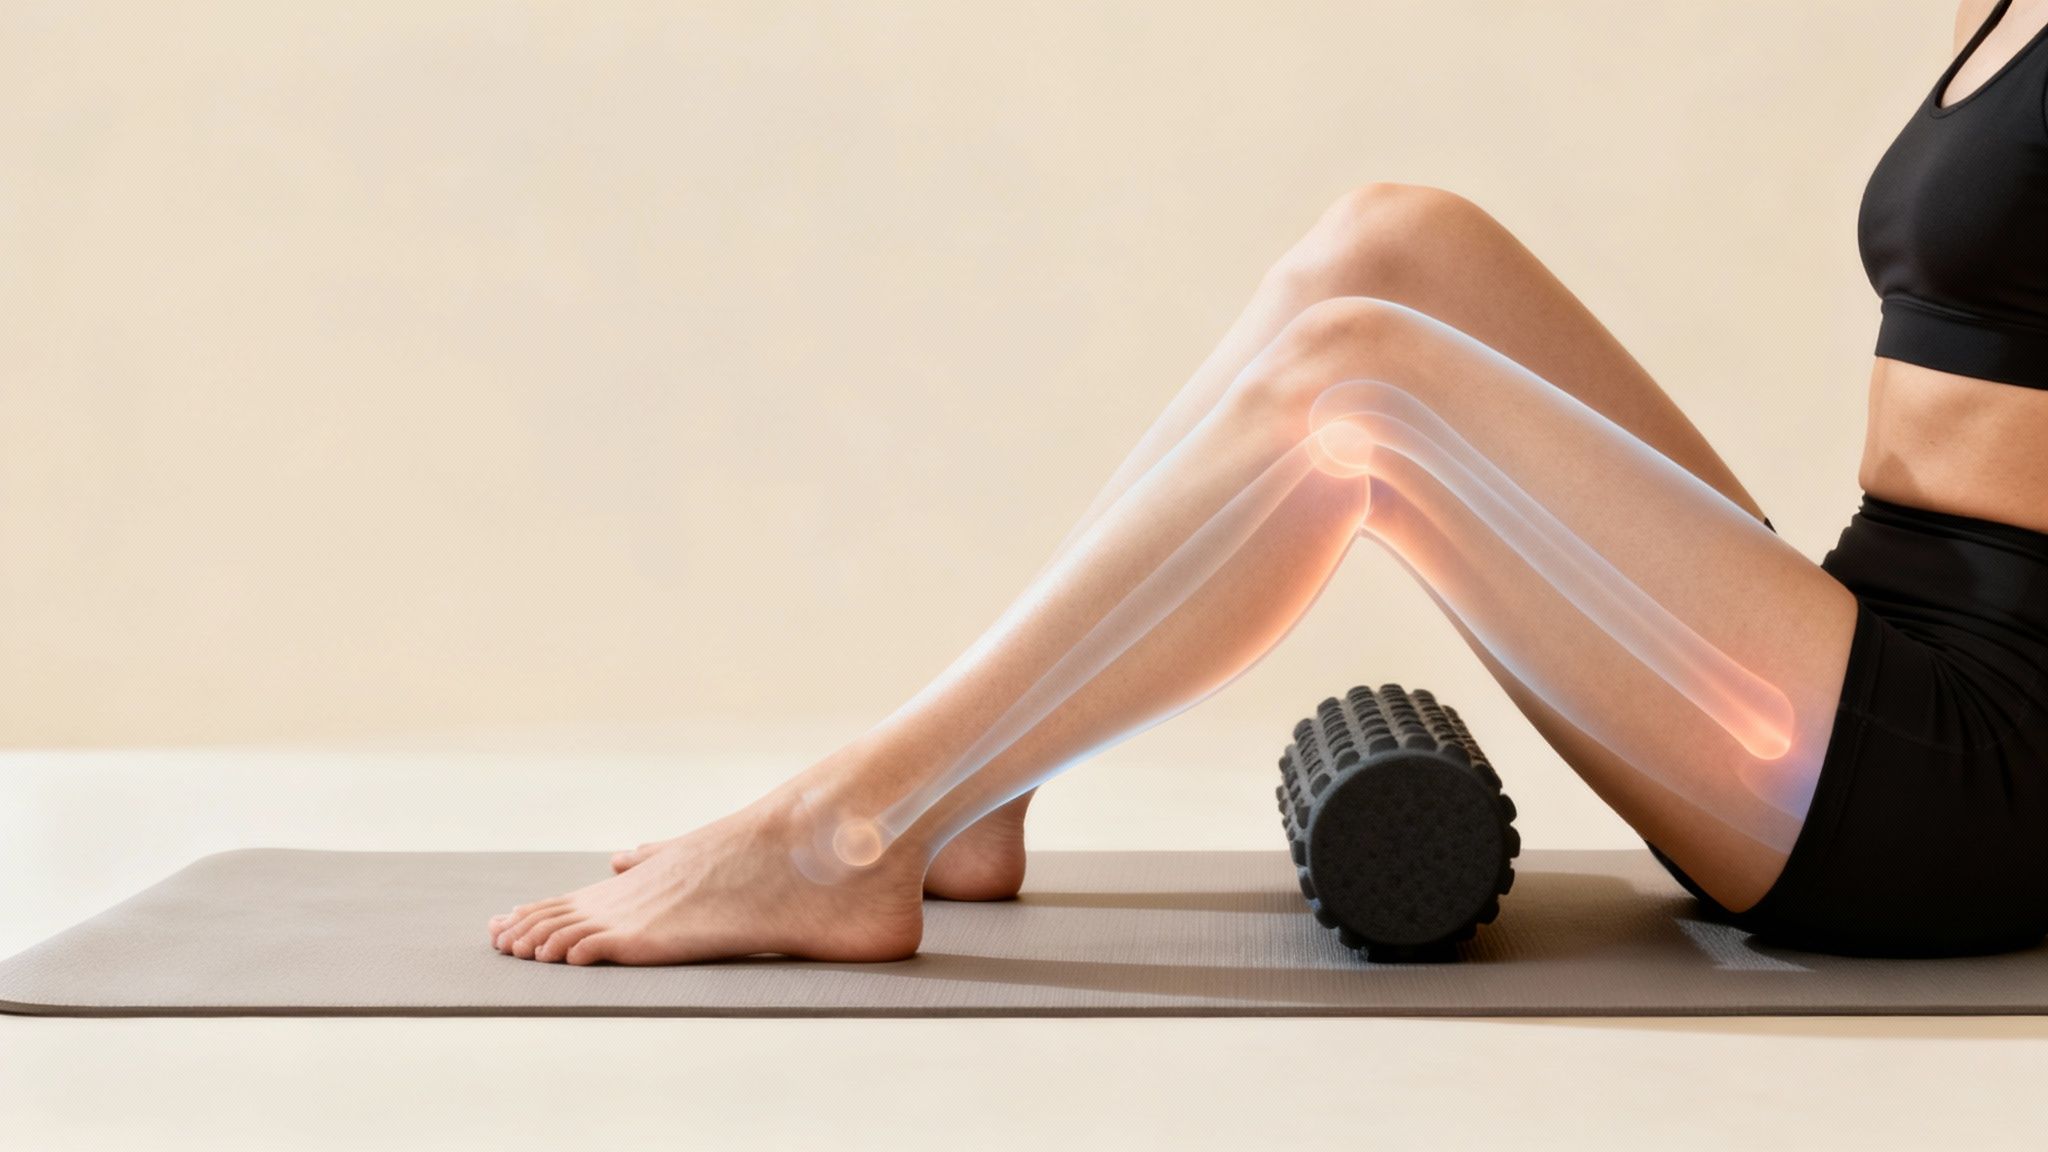
The Real Target Isn't Your Knee
Here’s the golden rule of foam rolling for knee pain: never roll directly on a joint, especially your kneecap. It’s not built for that kind of concentrated pressure. Your knee is a complex mix of bones, ligaments, and cartilage, and rolling it can cause more inflammation and discomfort.
The key to relief is focusing on the soft tissue around the knee. When you release tension in the quads, you ease the downward pull on the kneecap. When you roll your hamstrings and calves, you relieve tension from below.
Think of your muscles as ropes holding up a tent pole (your knee). If those ropes are too tight, the pole will bend and strain. Foam rolling helps loosen those ropes, allowing the pole to stand straight and stable. For a deeper dive, check out our guide on what is myofascial release therapy.
Quick Guide: Foam Rolling Do's and Don'ts for Knee Pain
To get the most out of your routine safely, keep these simple guidelines in mind. This table is a quick reference to help you get it right and avoid common mistakes.
| Do | Don't |
|---|---|
| Roll slowly and deliberately over the muscle belly. | Roll quickly back and forth—it’s much less effective. |
| Pause on tender spots (knots) for 20-30 seconds. | Roll directly over your kneecap, shin bone, or IT band. |
| Focus on the quads, hamstrings, and calves. | Hold your breath; breathe deeply to help your muscles relax. |
| Stop if you feel sharp or intense pain. | Overdo it. A 10-15 minute session is all you need. |
Following these simple rules will help ensure your foam rolling sessions are both safe and effective for helping with stubborn knee discomfort.
The Science Behind Muscle Release and Pain Relief
When you use a foam roller on your legs, you’re tapping into your body’s own recovery system. This whole process is grounded in a principle called myofascial release.
Your muscles are wrapped in a thin, web-like tissue called fascia. After a tough workout or even just sitting all day, this fascia can get tight and form adhesions, or "knots." These knots are what make your muscles feel stiff and restricted.
How Pressure Actually Promotes Relief
Those tight spots in your quadriceps and hamstrings don’t just stay there—they pull on the tendons connected to your knee, creating constant tension.
Foam rolling applies slow, sustained pressure to these trigger points. This signals your nervous system to relax the muscle, breaking up adhesions so everything can glide smoothly again. Think of it like untangling a knotted rope; a tight muscle is short and yanks hard on its anchor points. By rolling, you’re encouraging that muscle to lengthen and let go.
The result? An immediate drop in strain on your knee joint, which you’ll often feel as a decrease in soreness and stiffness. Plus, the compression and release motion acts like a pump, promoting circulation. More blood flow means more oxygen and nutrients to help flush out waste products.
"I was skeptical at first, but after a week of rolling my quads before my morning walk, the usual ache in my right knee is almost gone. It feels like I’ve hit the reset button on my legs." - Jennifer S., Chicago
What the Research Shows
This isn’t just theory; the benefits are backed by research. Studies consistently show that targeting the muscles around the knee can improve how the joint functions.
For example, one study found that a single foam rolling session on the thigh muscles led to a big increase in knee extension and less reported pain for patients after surgery. On average, their knee's range of motion improved by 5.7 degrees after just one session. You can check out these findings on foam rolling and knee recovery for yourself.
This shows that even indirect work can have a huge impact. By getting your supporting muscles healthy, you create a better environment for your knee. The science is clear: foam rolling for knee pain works because it tackles a root cause—muscle tension. Want to go deeper? Learn more in our guide on what is myofascial release therapy.
Your Go-To Foam Rolling Routine for Knee Relief
Alright, let's get you rolling toward relief. This isn't about speed; the goal is to be slow and deliberate with every movement.
A good, high-quality foam roller is key. You want one with the right density to get into the muscle tissue without being painfully hard. And don't forget to breathe. A deep exhale as you sink into a tender spot tells your muscles it's okay to let go.
The whole process is simpler than you think. By releasing tension in the surrounding muscles, you take the pressure off the knee joint itself.
Targeting the source of the tightness is the first real step to giving your knees a break.
Targeting Your Quadriceps
Your quads—the big muscles on the front of your thigh—are often the main culprits. When they're tight, they tug on your kneecap, which can cause that familiar ache.
Get into a plank position on your forearms with the foam roller under your thighs. Using your arms to control the movement, slowly roll from your hip down to just above the knee. And we mean just above—never roll directly over your kneecap.
When you hit a sore spot, just pause. Hold that gentle pressure for 20-30 seconds. Breathe through it. This gives that knot of tension enough time to release.
Releasing Your Hamstrings
Next up are the hamstrings. These muscles run along the back of your thigh, and when they're tight, they can pull on the back of the knee, making the joint feel stiff.
Sit on the floor with your legs out straight and the roller under your thighs. Place your hands on the floor behind you for support, lift your hips, and start rolling. Go slowly from just under your glutes down to the back of your knee.
Pro Tip: Want to get deeper? Cross one ankle over the knee of the leg you're rolling. This concentrates your body weight onto one hamstring for a more intense release.
Addressing the Calves
Most people don't connect their calves to knee pain, but they're surprisingly influential. A main calf muscle, the gastrocnemius, crosses the knee joint. So, a tight calf can restrict movement and put extra strain on the knee.
Sit down with the roller under your calves and work your way from the Achilles tendon up toward the back of your knee. You can get a more complete release by rotating your leg in and out slightly as you roll. If your calves are a chronic issue, our detailed guide on how to treat tight calf muscles is a great next read.
The IT Band: A Cautious Approach
This is a big one. Many people are told to aggressively roll their iliotibial (IT) band. Don't do it. The IT band isn't a muscle you can "release," and trying to roll it directly often causes inflammation and makes the pain worse.
A smarter, safer approach is to focus on the muscles that attach to the IT band.
- Gluteus Medius: This is on the upper, outer part of your glutes.
- Tensor Fasciae Latae (TFL): You'll find this small muscle at the front of your hip.
Lie on your side and place the roller on your outer hip, right on that fleshy glute medius area. Gently roll back and forth over that small spot. By releasing the tension here, you relieve the pull on the IT band without irritating it.
Common Foam Rolling Mistakes You Need to Avoid
To really get the benefits of foam rolling for knee pain, how you do it matters. It looks simple, but a few common slip-ups can easily make your discomfort worse.
Let's walk through what not to do, so you can roll with confidence and get the relief you’re looking for.
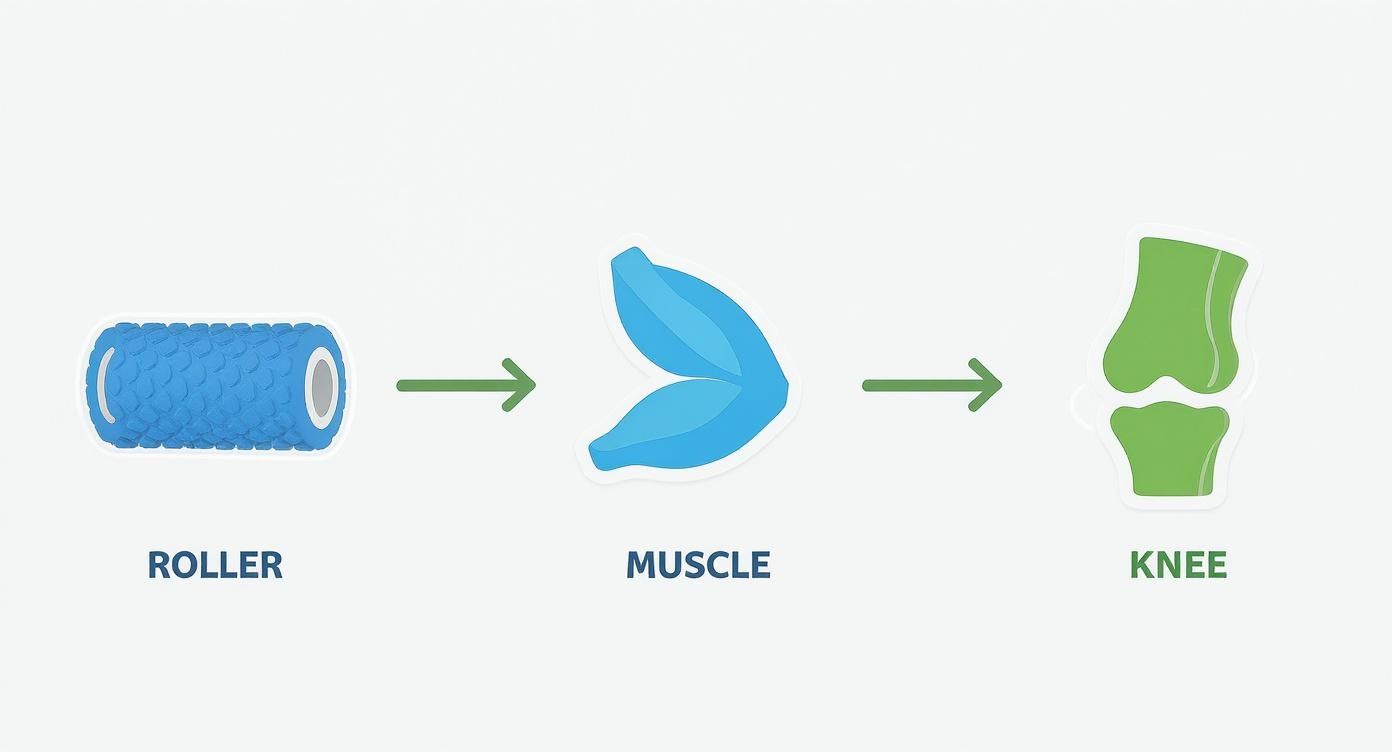
Mistake 1: Rolling Directly on Your Knee
This is the biggest—and most tempting—mistake. Never roll directly on your kneecap or the bony outside of your knee. Your knee is a sensitive joint, and putting direct pressure on it can stir up more inflammation.
The IT band is a super thick band of connective tissue, not a muscle. Aggressively rolling it usually just irritates the area without fixing the root problem.
Instead: Stick to the fleshy parts of your muscles—your quads, hamstrings, and calves. That's where the tension is hiding.
Mistake 2: Speeding and Forcing It
Another classic error is speed. It’s easy to get impatient and just zip back and forth over the muscle. But this doesn't give your nervous system enough time to get the signal to relax.
Going too hard is just as bad. If you're wincing in pain, your muscles are going to tense up—the exact opposite of what you want. You’re looking for strong, productive discomfort, not sharp pain.
The goal is to encourage your muscles to let go, not to force them. Think of it as a firm but gentle negotiation with a tight muscle.
The fix is simple. Slow your roll down to about one inch per second. When you find a tender spot, pause. Hold that pressure for 20-30 seconds and breathe deeply until you feel the knot start to melt away.
Mistake 3: The Hidden Habits Holding You Back
Beyond the big two, a few other habits can hurt your results. Make sure you avoid these common traps:
- Holding Your Breath: Deep, steady breathing tells your body it’s safe to relax, making your rolling way more effective.
- Camping Out on One Spot: Spending more than a minute on a single trigger point can irritate nerves. Stick to that 20-30 second rule.
- Forgetting the Neighbors: Knee pain is often linked to tight hips or stiff ankles. Don't forget to roll your glutes and calves.
A review of 21 studies found that foam rolling can help reduce muscle pain perception by a moderate 6.0%, but only when it's done right. You can learn more about foam rolling's effects on pain and flexibility in the full study.
Beyond the Roller: A Holistic Knee Recovery Plan
Foam rolling is a fantastic tool, but its real power comes out when it's part of a bigger picture. Lasting relief means tackling the root causes of your discomfort, which usually involves strengthening the muscles that support your knees.
When you combine foam rolling with the right exercises, you get a powerful one-two punch. The roller loosens up tight muscles, and strengthening builds up the stabilizing muscles that keep the joint protected. This is the secret to long-term joint health.
Building Your Support System with Strength
One of the most common culprits behind knee pain? Weak hips and glutes. When these muscles aren't firing properly, your knee joint ends up taking a ton of extra stress.
Adding a few simple, low-impact exercises to your routine can be a total game-changer. You don't need a gym; bodyweight moves are incredibly effective at waking up these crucial muscles.
Here are a few foundational exercises to get you started:
- Glute Bridges: Lie on your back, knees bent, feet flat on the floor. Squeeze your glutes to lift your hips until you have a straight line from your shoulders to your knees.
- Clamshells: Lie on your side with your knees bent at a 90-degree angle and stacked. Keeping your feet touching, lift your top knee up toward the ceiling.
- Side Leg Raises: Lie on your side with your legs straight. Slowly raise your top leg toward the ceiling, pause, and then lower it back down with control.
These movements zero in on the muscles that stabilize your pelvis, making sure your knee tracks properly.
The Power of a Combined Approach
Pairing muscle release with muscle strengthening creates a stable, well-supported knee. Research backs this up. One study showed that people who combined foam rolling with hip strengthening exercises saw a 32% improvement in pain over just eight weeks. You can learn more about how this combined strategy relieves knee pain.
"I thought just rolling my quads was enough, but once I added glute bridges, everything changed. My knees feel so much more stable on my runs." - Mark R., New York
To round out your plan, think about adding a massage gun to your toolkit. While a foam roller is great for large muscle groups, a device like the Cryotex Massage Gun delivers precise, targeted relief to stubborn knots. This is especially helpful for nagging issues like IT band tightness. Check out our guide on using a massage gun for IT band issues.
Common Questions About Rolling for Knee Pain
Let's tackle some of the most common questions about foam rolling for knee pain. Knowing the right approach makes all the difference.
How Often Should I Be Foam Rolling?
When it comes to rolling, consistency beats intensity. For general upkeep, aim for 3-5 times a week.
If you're feeling extra sore after a workout, it's fine to roll daily. Just keep the sessions short—10-15 minutes is all you need. The golden rule? Always listen to your body. If you feel your pain getting worse, take a day off.
Can Foam Rolling Make My Knee Pain Worse?
Yes, it can—if you’re not doing it right. Technique is everything. The biggest mistakes are rolling directly on your kneecap or an already angry IT band. This can make inflammation worse.
Always stick to the fleshy parts of the muscles that support your knee—think quads, hamstrings, and calves. If you ever feel a sharp or intense pain, stop immediately.
Which Is Better: A Foam Roller or a Massage Gun?
This is a great question. They work best together as a recovery team.
- A foam roller is your go-to for covering large muscle groups like the quads and hamstrings. It’s perfect for a general warm-up or cooldown.
- A massage gun, like our Cryotex Massage Gun, delivers targeted, percussive therapy to break up specific knots a roller can’t quite reach.
For the ultimate recovery session, use the roller first to get blood flowing. Then, switch to the massage gun to zero in on any stubborn spots.
Should I Roll Before or After a Workout?
Both have their perks. Rolling before you exercise is a great addition to your warm-up. It can help increase flexibility and get blood flowing.
Rolling after a workout is all about recovery. It helps reduce muscle soreness and kickstart the repair process. If your main goal is to manage knee pain, you'll probably find the most relief by rolling after your workout or on rest days.
At BestMassageGun.com, we know that progress is made during recovery. Our tools are designed to help you feel your best, whether you're hitting a new personal record or just trying to get through a busy day pain-free.